Thursday, June 11, 2009

Dogs at Play

Our local dog park is about to close for a year but we managed to get in one last visit last night.

A good time was had by most (mean standard poodle went and ruined it for the bassett hound and almost for Phylo too - mean, mean, mean!).  Phylo enjoyed his time sprinting back and forth between us, being frisky with some pooches, and avoiding squabbles with others.

Jared and Miranda mostly hung out looking cute.

And I guess I did some of the same with the Bird too :o)


Phylo got a nice romp and play and is somehow completely back to normal today as though he got no hard exercise at all.  Darn hound dogs - where do they get that energy?

Off to get Miranda back to s-l-e-e-p...back into those tough sleep times it seems.  Gosh, we're all ready for more of that magical dreamy stuff.

xo,
devon

Wednesday, June 10, 2009

Mister Phylo Bubba Twinkletoes

There's the Bird.
& then there's the bird dog.


Our big boy bird dog Phylo is 5 years old today. I remember bringing him home like it was yesterday.  We picked him up from his foster mom's house and he rode all the way home on my lap - like he belonged there.  He's still a lap dog - a 49lb lap dog.

Phylo (Greek for "friend") is from Cyprus.  Yep, the island of Cyprus.  An American couple living there found him and two other tiny German Shorthaired Pointers on the street and took them in. When they were just 6 months they boarded a plane to California and were placed with the South Bay Purebred Rescue.  Phylo was split up from his brother and sister but was happy with his foster mom and her dalmation Ziggy (and foster mom's learning disabled daughter who totally abused Phylo even though he kinda deserved it because he stole all her toys and ate them...). It was at 8 months old that we discovered Phylo (previously named Ajax) through Petfinder.com and fell in love with our squirrel hunting, sofa cruising, smelly sock loving, cuddleybug goofball.

It's been nothing but doggie manipulation since then. 
(walk! walk! walk!)

You can imagine he adds a lot to the mix...

Happy Birthday sweet boy!
May we have many many many more years with you our Mr. Phylo Bubba Twinkletoes.

:o)
dh

Monday, June 8, 2009

Happy One


Happy 1st Birthday to our little Miranda Bird!

Life with you has become so much fun - there's always something new you're trying (standing on your own, climbing on the sofa, making silly sounds), always something new to explore (the fridge, Phylo's bed, washing machine...), always something new with you and we're enjoying each & every bit.

This past year has had it's ups & downs but you've been worth it all.

You are the biggest blessing in our lives and we look forward to all the years ahead.

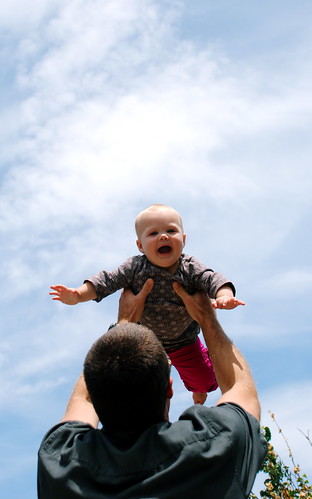
Oh, and thanks for letting us toss you in the air too.  Someday you'll really like it - even if you're on the fence about it right now (or at least going that high) :o) 

Happy Birthday to the Bird!!
Love, Mama & Daddy

A Party Dress


Miranda turns one tomorrow today!

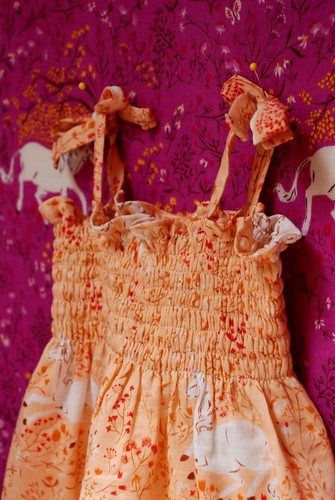
I've been preparing a few things for the Bird's birthday party in a couple of weeks.  One thing I wanted to do was make her a cute something to wear for her party.  I had picked up the book "Weekend Sewing" by Heather Ross a little while back and fell in love with the super easy smocked sundress pattern for babies & kids.

I also love love love Heather's fabrics. Especially her latest line which is printed on double gauze (delicious) and named "Far Far Away".  Awwww :o)  I went with unicorns on lovely peachy orange.

The fun thing about the sundress is that it's essentially just a rectangle of fabric that's given shape by sewing with elastic thread (pseudo smocking).  I picked up elastic from Joann's online (Heather's site has a link to a shop selling a huge amount on a roll) and, as instructed, hand wound it onto a bobbin (yes, you sew with it in your bobbin & not as your needle thread).


It sewed super well, absolutely a dream to sew with.  And sure enough, the fabric pulls right in and it looks like smocking! Awesome!  I can see using the elastic for other things too...closures, waistbands, cuffs, decorative details, etc.

I still have to finish the bottom dress hem.  Trying to decide if I should make the dress a little shorter than average and pair it with capris.  It'd certainly be easier for Miranda to crawl in that way.  Then again, she could be walking any day...

Besides the smocked sundress, I definitely plan to try a few other patterns from the book - bloomers, pants, sundress for me...  Really, it's a rad book that's chock full of projects that actually look doable (at least for this beginner/intermediate self-taught sewer).

Next up, fabric name banner!

Oh if only there were more hours...especially napping and bedtime hours ;o)

xo, dh

ps: Nearly forgot to mention this...which tells you how deteriorated my brain has become these days...there is a video showing exactly how to make the sundress - it's Heather Ross on the Martha Stewart show actually sewing it up herself.  She's so great!!  Enjoy.

Sunday, June 7, 2009

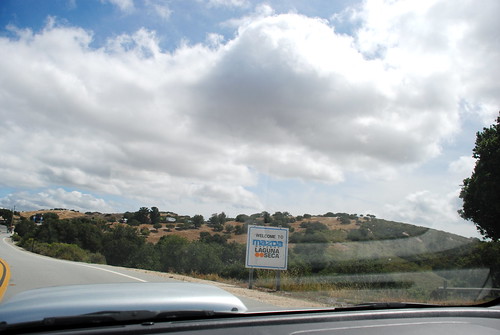
Laguna Seca

Hello!

Trying to squeeze in this post in the few minutes Miranda might spend in her nap this morning.  I say might as I'm pretty sure she's not sleeping yet.  Crossing my fingers (and toes, and whatever else) that she'll just settle down already and drift off.  Jared's been gone for the bike race since Friday so it's just been me and the Bird.  I tell you, I have a whole new appreciation for you single parents out there!  You amaze me, I don't know how you do it!


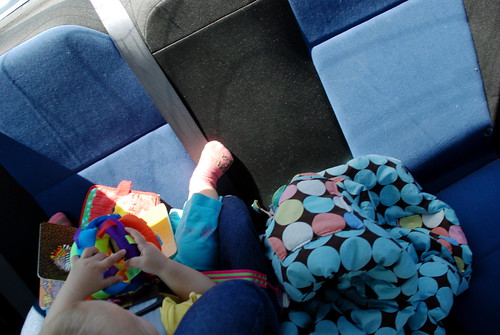
Saturday morning I had planned to jet off early for Laguna Seca Raceway (Monterey area, like an hour and a half from here).  Mbird takes two naps a day so I figured she could sleep while I drove.  Thankfully she did...for the most part.  I had picked up some new goodies for her and had them strapped to her carseat for her to play with.  A neato silicone teether, a Haba pacifier chain with fabric and wood flower faces (cute), and I tossed in the "Peek a Who?" book in case she wanted to be bookish.  She's quite the bookish babe actually.

It was a beautiful day down there.  Kind of day you have to be careful of actually.  It feels cool and refreshing and mellow and you pass the day without care only to find you've been burnt to a crisp somehow.  That was me last year...  This year I had sunglasses and sunscreen and brought a hat for Miranda.

The race works like this: at noon on Saturday the gun goes off and riders make their way through a 15+ mile mountain bike course around Laguna Seca.  It takes around an hour to complete a lap.  When the first riders are coming in the second riders are ready to go - it's a relay, and you determine how many riders will be on your team.  Last year I think Jared had a team of 8.  This year it was whittled down to 5 (painful, yes).  Basically, teams are trying to accomplish the most amount of laps possible in 24hrs.  This is one those "why do people do these things to themselves?" sorts of things :o)  When I talked to Jared this morning he was getting ready to go for his 5th lap!  Poor guy!! (Not to mention Jared's eye injury from Thursday...what a week it's been let me tell ya.  If you want to see that check it here).

I'm ready for another set of hands on deck.  Come home anytime Jared!  In fact, why don't you head out for that 5th lap, but bike to your car instead and drive home? :o)  No one will suspect a thing...


Driving back to San Jose I was so struck by how gorgeous this place is.  I'll always be a Panama girl.  I'm from there, I grew up there, that's home (though it seems I rarely go back).  But I love California.  I really do.  There's just something so strongly satisfying in the landscape.  It's infected me & I don't think I ever want to leave.


Tuesday, June 2, 2009

Painting & Installing Murals on Canvas, A Tutorial


I've now painted and installed quite a few murals on canvas, rather than just painting them directly on the wall. This method has some great attributes - the artist can work off-site, the client is only bothered for a day or even just for a few hours, and should the client (or you!) move and want to take the mural along it's a cinch to pull off the wall (with a little effort, but it'll come off I promise).

Materials you'll need:
-canvas to paint your mural on
-scissors or rotary cutter, mat, & ruler (for trimming mural)
-clay based wallpaper adhesive (available at many paint stores - this is the thick, opaque stuff)
-paint tray (I line mine with a spare plastic bag taped around the back, or you can use foil)
-paint roller and roller cover (I like ones that can hold a lot - look for "rough surface" variety)
-low tack tape (for holding mural in place - lightweight applications only)
-brayer
-staple gun (for tacking mural in place in heavyweight applications)
-razor blade or x-acto knife
-cloth rags & water (keep a damp rag tucked in your back pocket - so helpful for wiping off excess adhesive!)
-paintbrush for touch ups (along with paint to match)
-dropcloths


Here's how to do it:

Select a medium to heavy weight canvas. I prefer a pre-primed canvas as it saves the step of applying gesso.

Measure and trim your canvas to the size or shape you need. I think it's a good idea to leave some extra room on the sides - a place to dab your paintbrush, or add to once installed if your measurements were a little off.

Sketch out your mural scene:


Paint away!


Trim your piece (you can wait to do this if you're unsure of exact dimensions). If you're trimming straight lines like I was (104+ feet of straight lines), I recommend using a rotary cutter with a straight edge and self-healing mat. The work will go much faster.

Be careful! Those rotary cutters can really bite. I know this well :o(


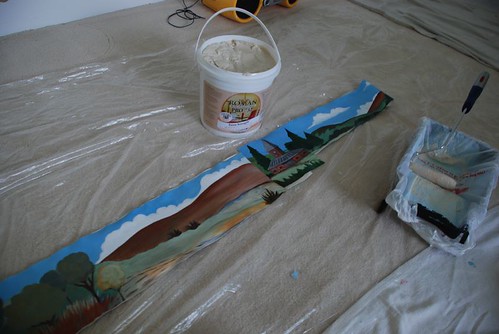
When you're all set to install take a minute to get your work area prepped. Have all your tools on hand, drop cloths down, mural(s) placed in front of where they're to be put up. If you like, tape your mural in place to see what you have to work with (keeping in mind the size may change slightly after applying adhesive - see my story below).


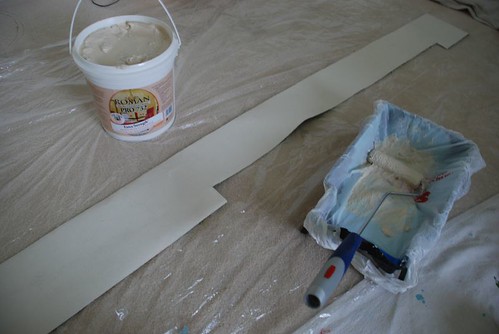
Pour the adhesive into a paint tray. Then using a roller (small or large depending on your mural size - I used a 4" roller for this one), apply a consistent and fairly thick layer of adhesive to the back of the canvas.


Fold the ends of the canvas in to meet in the middle. This is called "booking" and it allows the adhesive to set up.


While the adhesive is setting up on the canvas, quickly roll the area of the wall the mural is going on with the same adhesive (a nice even layer, not too thin).


You have a few minutes...but try not to take too long. You can always apply a little more adhesive as you're putting the canvas up but it's easier just to move along briskly.

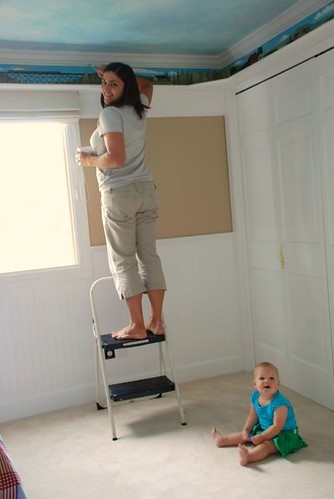
Showtime! (It can be helpful to have a second pair of hands for this...I didn't for this mural but it went okay. Anything bigger and you'll find it gets unwieldy.) Pick up your canvas, unfold one end and press it in place starting from the top. Move your free hand along the canvas, pushing it against the wall and sliding it somewhat (it'll have some wiggle room) the direction you want it to go. Unfold the other half of the canvas and press it into place as well. If you're working with a very heavy canvas, or if your canvas is very large, it may need extra help in attaching. If that's the case, have your staple gun handy and drive a few staples in (at the top) to hold it in place. You can paint over these staples once you're all finished installing.

When the canvas is where you want it, pull out your brayer and begin to roll it along the surface moving from the center out to the sides. This will push out all the air bubbles. Sliding your hands along the canvas (center out) is very effective too.


The wonderful thing about the clay based wallpaper adhesive is that as it dries it pulls the canvas into the wall making it like one solid surface. It really is amazing.

When your mural is attached to the wall you can then assess your touch ups. Maybe you have a little gap here or there (if you were fitting it into a niche maybe) - simply fill with matching paint. Maybe you have some overhanging canvas - trim it neatly with a razor blade or very sharp mat knife (x-acto blade, etc.). Many of my clients have chosen to frame out the mural and have installed molding around the edges (overlapping the edges) - a beautiful finish. Or maybe (like in my case over the weekend) your canvas surprises you and shrinks once you apply the adhesive (!) and you come up short on all sides. What I ended up doing (instead of freaking out) was filling in my gaps with paint to match. I feel like there's always a way to rescue things - that's totally my motto!


That's it! You're done! You can always add more paint on top if you desire.


Have fun :o) Hope this is helpful to some of you out there! And of course, let me know if you have any questions.

xo, dh

A Vintage Train Scene

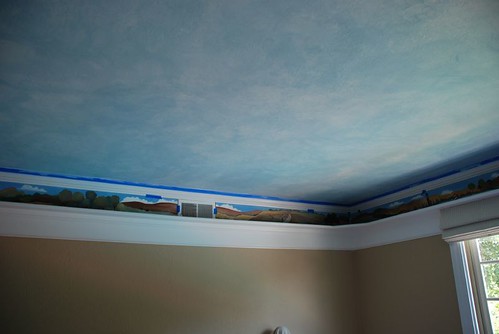
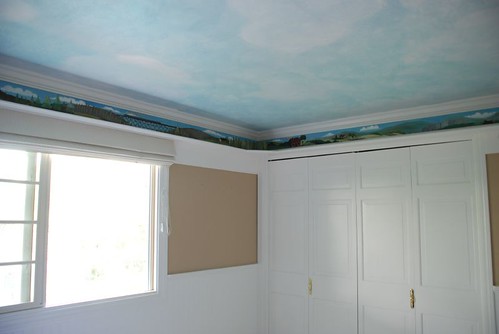
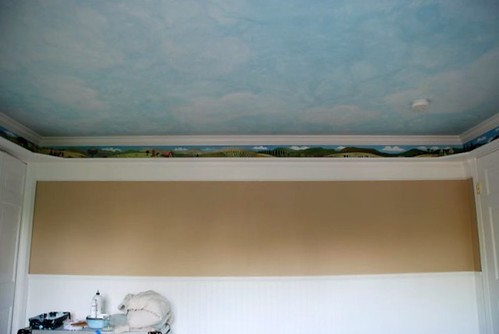
Since having Miranda everything takes me longer to do. Mural work is no exception of course! I lost track of how many stops and starts it took to complete this project, and how many palettes of paint dried up on me from so many interruptions. But it's done! I installed the mural over the weekend and now can share it with you (not the best of photos...it was getting dim, but hoping to get back over there and re-shoot some).

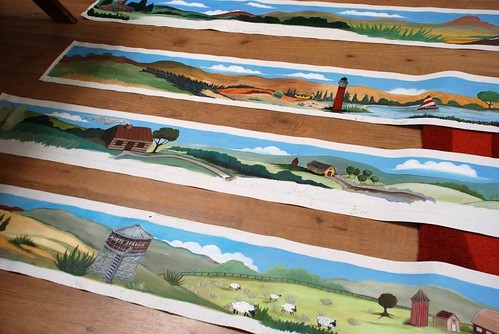
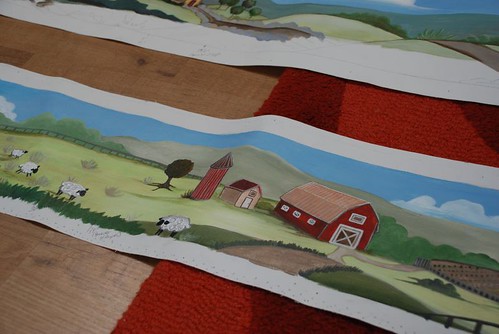
I painted the mural in my studio, pinning the canvas panels to my felt wall and slowly working through them.

Matching the end of one panel to the beginning of the next one. I worked on a primed heavy canvas that I meticulously measured out.

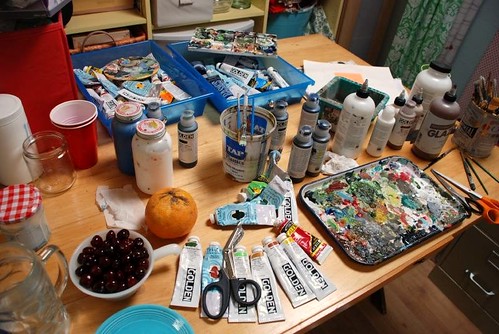
I used Golden paints for the most part - love that brand. Golden paints and lots of lots of palettes.

I installed the panels with not too much drama (the drama I'll go into in my next post which is a tutorial on installing murals on canvas).

Touch ups were minimal. It all tied together so nicely. Just a little dab of trim white here and a little swipe of sky blue there.

My clients love it and so does their 3 year old - it's his room! Now all they have to do is pop their awesome train on the track and let it do it's choo choo thing. So cool.

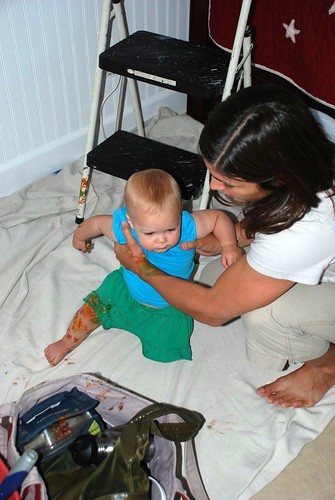
Jared and Miranda came to visit at the end of the long install day. Who'd have thought the messiest moment of the day came not from me with buckets of paints, wallpaper paste, and glazes, but from the Bird. Jared and I glanced over at her when things got just a bit too quiet. She had somehow gotten into my paint tray of not at all dried up (for once) acrylic paints and had it ALL over her - clothes, arms, legs, everywhere! I swooped in but didn't really know what to do, hahaha, and Jared just stood there and took pictures. I didn't find that to be a good idea at the time but in retrospect I'm glad he did :o)


Whew!

It's so good to be done with this project. I can't even tell you. Well, I guess I should tell you. My clients have actually been waiting for me to do this for nearly a year...yes, I'm embarrassed to say it. But now I can. Because I'm done!

Yes!!

xo, dh :o)